🎉 Installation Guide
Welcome! This page demonstrates the process of installing the Nutrix Restaurant Management System. Let's get your restaurant supercharged! 🚀
🛠️ Prerequisites
NutrixPOS loves MongoDB 🍃 for storing all your delicious orders, inventory, sales, and other important data!
You'll need to have a running MongoDB server instance before we start. 👉 Grab it from their official download page: http://mongodb.com/try/download/community
📥 Download
Time to get the goods! Visit our Download Page to find the latest and greatest version of NutrixPOS. ✨
💻 For Windows users: Look for the file ending in windows64.exe and hit download!
🪄 The Installation Process
Got the executable? Awesome! Ensure your MongoDB is up and running, then simply double-click the NutrixPOS installation file and follow the easy prompts.
Once the installation wraps up, run the freshly installed NutrixPOS app!
🪟 Windows Tip: You can easily find it in your Start Menu under Nutrixpos or use the shiny new shortcut on your desktop.
⚙️ First-Time Setup
When you open NutrixPOS for the very first time, you'll be greeted by this setup screen:
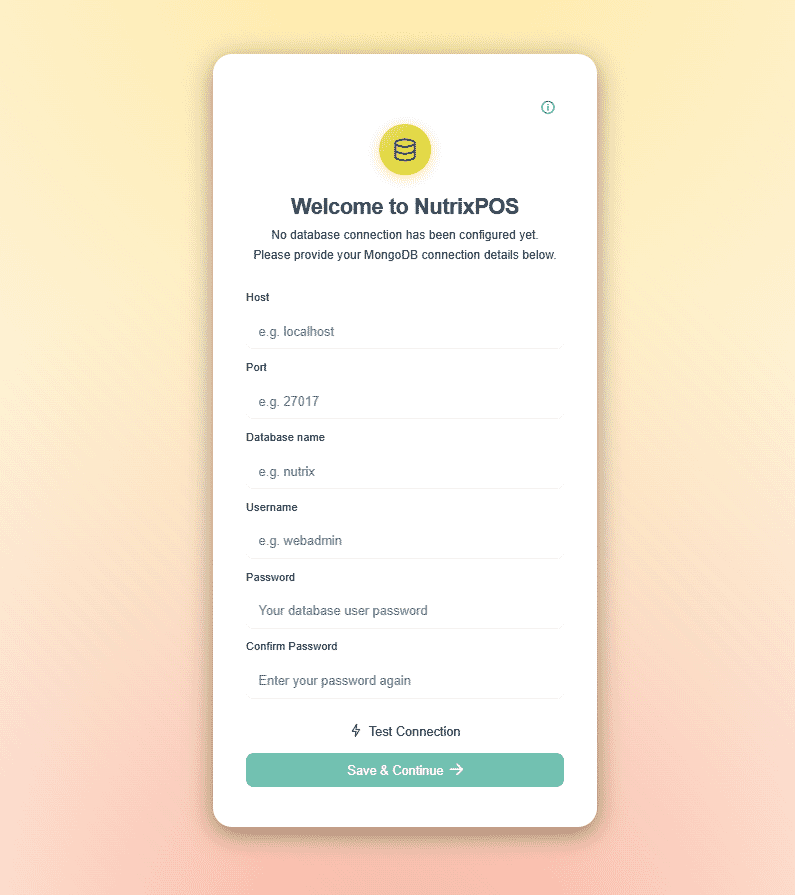
- Connect the Dots: Add your database connection info into the designated fields.
- Test it Out: Click the Test Connection button 🧪.
- Save it: If the test succeeds, the Save & Continue button will light up! 🌟 Clicking it saves your database config safely in a
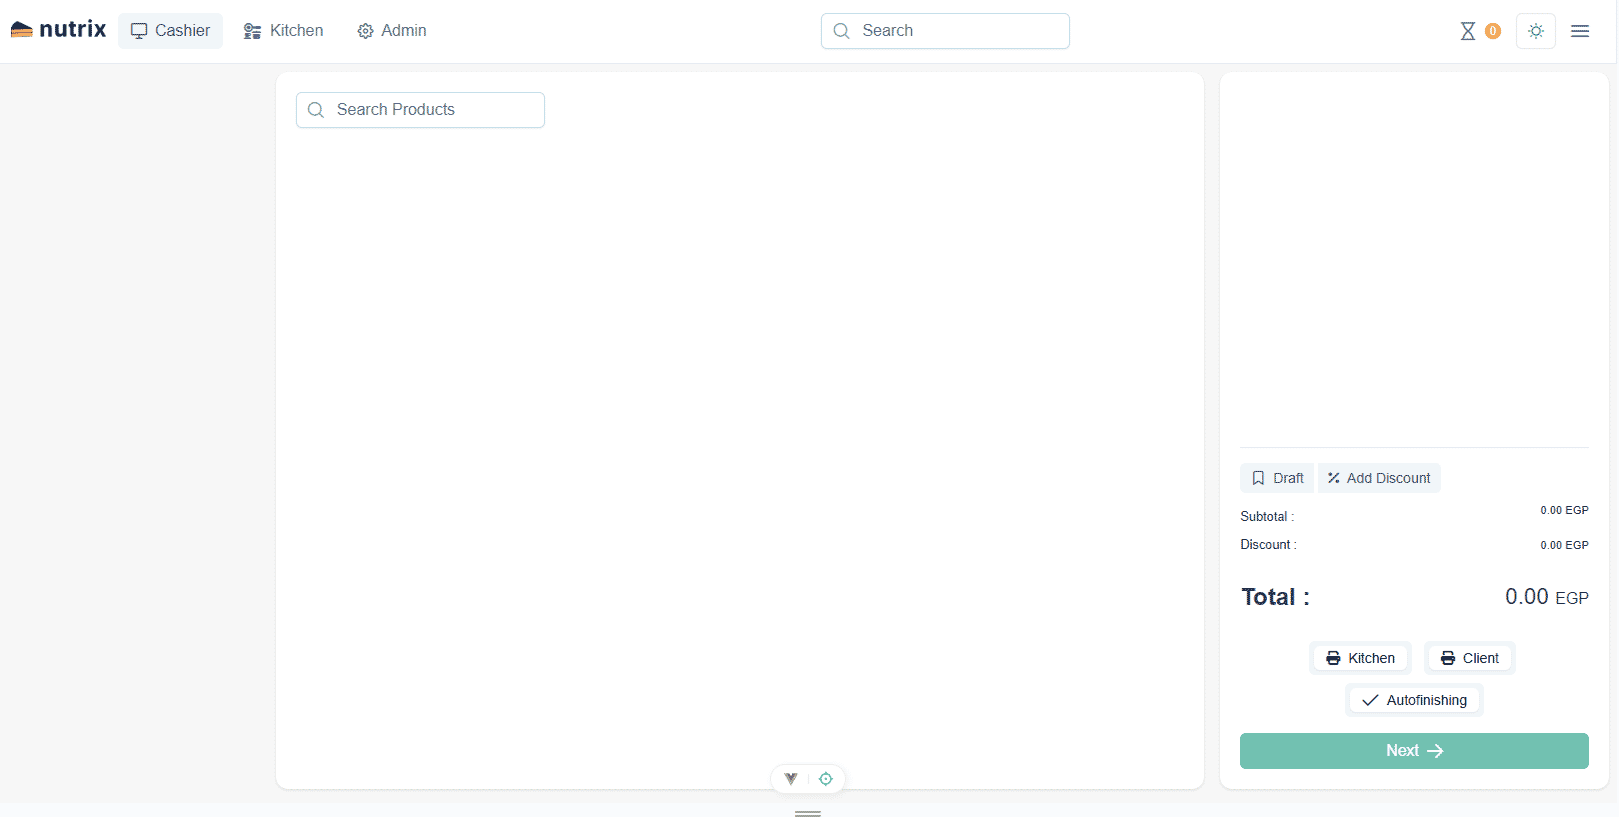
config.yamlfile. - Let's Go! A new "Let's Go" button will appear. Give it a click, and you'll be teleported straight to the cashier page, which looks a little something like this:
🎊 You Did It!
Congratulations! 🥳 You've successfully installed NutrixPOS. You're now completely ready to start ringing up orders and managing your restaurant like a pro. Enjoy! 🍔🍕🍹